Looking for holiday gifts?? Look no further!
Showing posts with label DIY. Show all posts
Showing posts with label DIY. Show all posts
Wednesday, November 28, 2012
Tuesday, August 28, 2012
A few changes
We have done some changes in our little condo.
A
Our balcony came with a light like this when we bought the place. Yea very ugly!
After a year, we finally found the perfect light to go with this small outdoor area.
We got this from the Lowe clearance section, I don't remember the price exactly, but definitely less than $10, I think it was around $7. I am very happy with it.
B
We don't live close to any Ikea store, it takes us around 2 hours to get to one. The last trip we went, we found a very nice mirror (again in the clearance section) with a very good price tag ($40). We decided to put in the guest bathroom.
The before picture of our bathroom.
I would keep this mirror with me when we get a house in the future, I am hoping to put it in the entrance area.
C
Another lighting, and of cos I never remembered to take picture for the product before we change it.
This is the master sink area (Just don't look at the black water)
We bought a vanity light from Lowe clearance section (don't we just love clearance)!
This light only cost us $5, you can't resist not buying it. As it today, we still missing the glasses.
Hopefully by the end of next month, all our lighting will be fixed. We are putting recessed light in out living room, changing the light fixtures in the kitchen and dinning room. Also putting ceiling light in the bedrooms too, its going to be interesting and lots of shopping ( in clearance section, Wohoo).
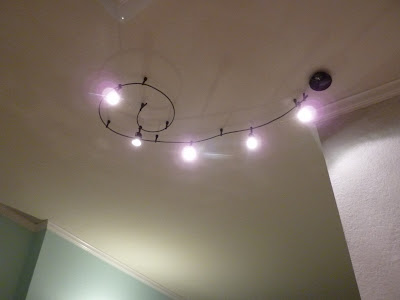
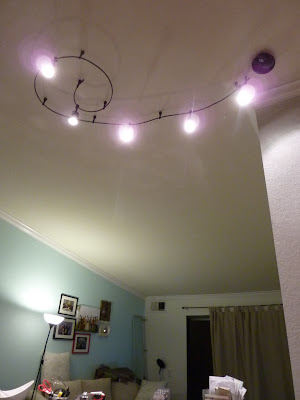
Here is a sneak peak
Wednesday, June 13, 2012
Our handmade headboard
We finally finished our headboard, it took us months, but we did it finally
Over the last year I have been searching for headboard, but of course I cannot afford anything that I like and I just have to make my own one, and since I am not creative and 'craftive' enough, I can only made some simply design.
This is how we started, we went to get 4 plywood from one of those home improvement stores (it has been that long I don't even remember which one), and some long wood sticks, it cost us about $30 for all that. Albert put them together in our living room, yes, we only live in an apartment we have no garage.
Then I went to JoAnn and got some foam which cost about another $20, we didn't really measured the board, we just go for those 4 boards, even we measured, we have no where to cut it. However from the foam I purchased, it is just less than 3 yards.
Then we spent another few weeks to decide which fabric, I have a Waverly one, but I got it from our local JoAnn, and they discontinue that fabric so I have to pick something else. Another week gone, I wanted to do grey and yellow stripes, but Albert said no, so at the end we gone for...
Navy Blue and white, I did 2 white and 2 blue and sew them together, all these only cost me $15 (3 yards white and 3 yards blue)
This is the bedroom before
and now
I love it
We also change our window shade to curtain, I bought 2 panels from Target when they were on sale, $15 each.
This project is link to: Made By You, Family Ever After, Someday crafts, Somewhat Simple, Southern Lovely, Lil' Luna, 36th Avenue, Bear Rabbit Bear, The Shabby Creek Cottage, Funky Junk Interior, Whipper Berry, Five Days...5 Ways, The Shabby Nest , The CSI Project , Happy Go Lucky, Tatertots and Jello, Polkadots on Parade, Sew Much Ado, Family Home and Life , The ArtsyGirl Connection, Not Just A Housewife , House of Hepworths, Mommy by Day Crafter by Night, The D.I.Y Dreamer, Thirty Handmade Days, It's Overflowing
Wednesday, April 25, 2012
Kitchen Light
We always wanted to change the light in the kitchen, since they are very out-dated.
After 10 months, we finally did it. We got the light from IKEA in their clearance section. It said something missing, but we still got it since it was only $6.
This is what the kitchen look like before, with the light on the left
This is the light we bought (sorry for the poor pictures)
Tuesday, April 17, 2012
handles and knobs
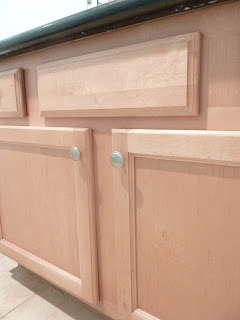
We bought these handles and knobs few weeks ago. The handles are from Lowes and the knobs are from Target, I found them in the clearance, they are less than $3 per box (there are 4 of them).
The handles are for the kitchen cabinets
The knobs are for both bathrooms
Thursday, March 22, 2012
Switch covers step by step
Here are the steps how I did the switch covers
To begin with, you need a switch cover (of course), little fabric, a pen, glue gun, scissors, a screw with a sharp end (or anything sharp, e.g. pin or nails)
1. Cut a piece of fabric just little bigger than the switch cover
2. Draw the shape out using a pen or pencil
3. Cut the shape out, also cut the diagonal to the corner (see picture). When cutting the shape, leave some space so you could glue to the switch cover.
4. Start putting them together. Line the cover with the fabric using the shape you drew.
Make sure you pull the fabric tight enough when you glue them onto the switch cover.
5. Cut the corners off
6. Glue each side onto the switch cover
7. Almost finish
Finally just use a sharp screw or nail to make the holes for the original screws, now it is ready to put it back on the wall.
This post is link to


Subscribe to:
Posts (Atom)


